29 Jan

Concluding the Thrilling Saga: The Talking Plant

lego_audio_sensor

As the third and final part of our interactive plant display at the Fairmount Water Works, our last plant is now able to talk. That is, it can express its need for water through audio. This setup uses an Arduino ($25), a Wave Shield ($22), and a Vegetronix VH400 soil moisture sensor ($37). Our two 10th grade Science Leadership Academy students had a lot of fun soldering and building the shield. To our delight (and surprise), it actually worked the first time we tried it.

The audio shield will only play .wav files. There are databases with huge amounts of them out there on the Internet. We faced some issues with our .wav files and their compatibility with the device, but after some practice, we began to get the hang of it.

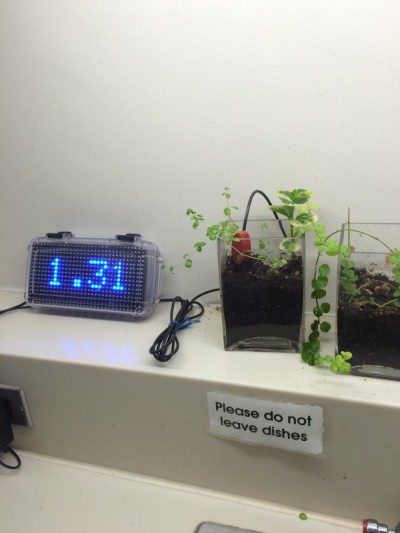
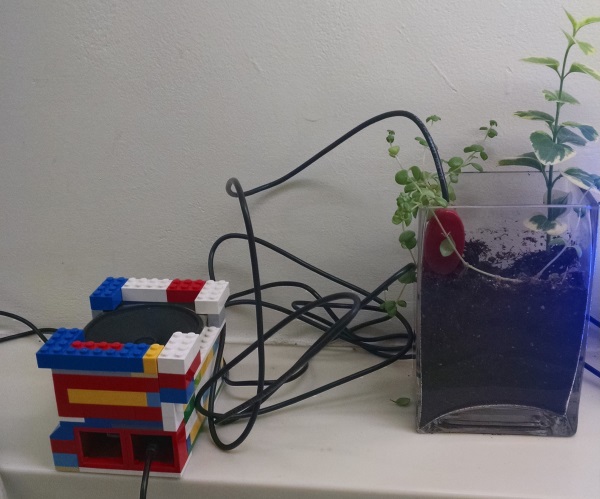
Currently, in an attempt to annoy the Water Works employees (just kidding), each hour the plant takes a moisture reading.  If the moisture level is satisfactory, it plays a clip of the song “Everything Is Awesome” from The Lego Movie, to go with the hardware’s awesome Lego case built by the SLA students:

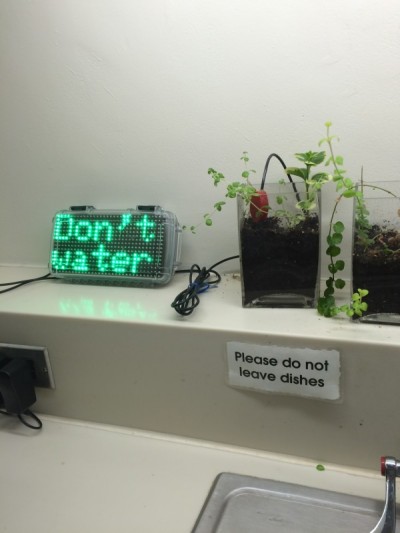
If the moisture level is not satisfactory, it will play water droplet sounds, indicating it needs to be watered. There’s a lot of room for creativity here, because iTunes and Audacity can convert  .mp3 to .wav files.  What’s stopping Matt from recording himself, converting it, and uploading it to the Arduino? Nothing—he’s probably already started working on it.

View the code after the jump.

Read More

16 Jan

Even Plants are Tweeting Nowadays

Capture1

As part of our display at the Fairmount Water Works, one our plants will now be tweeting when it needs to be watered. (First the teenagers, now the plants?)

This setup uses an Arduino Uno ($25), a WiFi shield ($80), and a Vegetronix VH400 soil moisture sensor ($37). This WiFi shield has an integrated antenna, which allows us to connect to the wifi at the Water Works and send tweets over its network.

We didn’t want our plant to be someone who only talks to you when they need something, so we have a series of different tweets:

  • “Water me please!” when the moisture value falls below 250.
  • “URGENT! Water me!” when the moisture value falls below 150.
  • “Thank you for watering me!” when there is a change in moisture level of at least 100 and the new moisture value is above 250.
  • “You didn’t water me enough!” when there is a change in moisture level of at least 100 and the new moisture value is below 250.
  • “You overwatered me!” when the moisture level climbs to above 400.

One problem we ran into was that Twitter doesn’t allow repeated tweets, as a way to block spam.  Because of this, we had to add more content to our tweets.  In addition to the text, each tweet displays the moisture level and the tweet number (we added a tweet counter in our code).

You can see our plant’s tweets here.

View the code after the jump.

Read More

05 Jan

Bigger, Better and Brighter LED Display

IMG_6699 IMG_6696

Our previous post detailed the simple soil moisture sensor with an LCD display that has been keeping track of our plant’s watering needs at the Fairmount Water Works.  We decided the project could use a little more flair—plus, our original LCD display got a little wet.  Luckily, our new 16×32 LED Matrix has its own waterproof case. The setup uses an Arduino Uno ($25), a Grove base shield ($10), a Vegetronix VH400 soil moisture sensor ($37), and a 16×32 RBG LED matrix panel ($25). All of the electronics are safely tucked into a waterproof Pelican case.

We decided to display more information with our LED matrix.  Now, it will display the words “Water me!” when the soil moisture level falls below a voltage of 1.2, or “Don’t Water” when the moisture level is greater than 1.2 V. It then displays the voltage, followed by “Water Works,” and repeats.

We found that with RGB (red-blue-green) matrices like this one, certain colors require more power.  When using solely the power coming through the computer to the Arduino to power the matrix, we were limited to basic red, blue, and green colors.  Any other colors would be displayed as one of the tree.

We decided this was a little too boring, and experimented with supplying power from the wall directly to the matrix, in addition to the power coming from the wall to Arduino.  This got us very bright, vibrant colors. However, the LEDs were glitchy and flashing.  We think the matrix was getting just a little too much power, and it was distracting.  In the end, we stuck with the additional wall power, but used lower power colors.  This gave us the brightness we wanted, without all the flashing.

View the code after the jump.

Read More