17 Nov

Sensors Working Overtime

fi_soldering

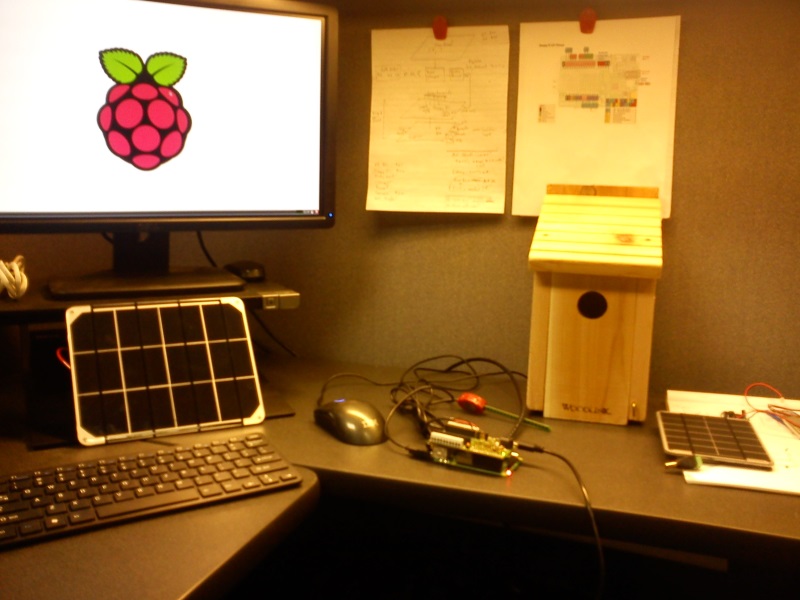
Back in June, greenSTEM helped students install web-connected soil moisture sensors at the Penn Alexander school and the Franklin Institute. These Soil Cell units were placed in garden beds and operate the same way as PWD’s other devices (which monitor green stormwater infrastructure), but with a slight difference: They use solar panels to keep the batteries charged. Over the last six months, these sensors have been virtually maintenance-free, requiring no battery changes.

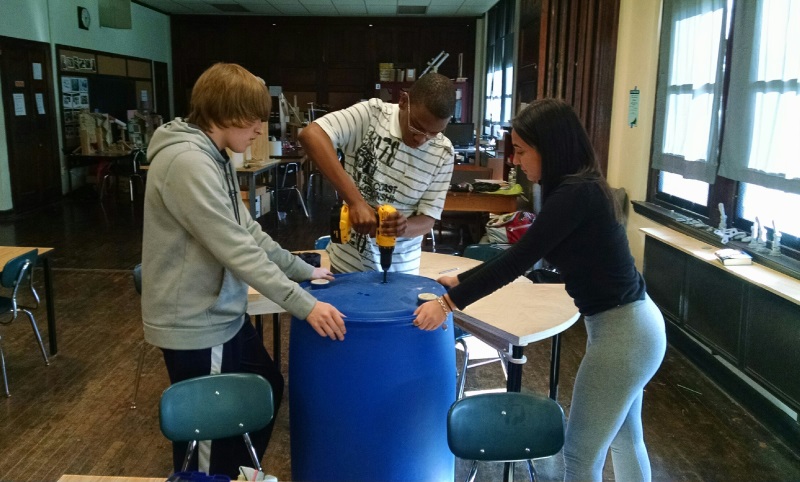
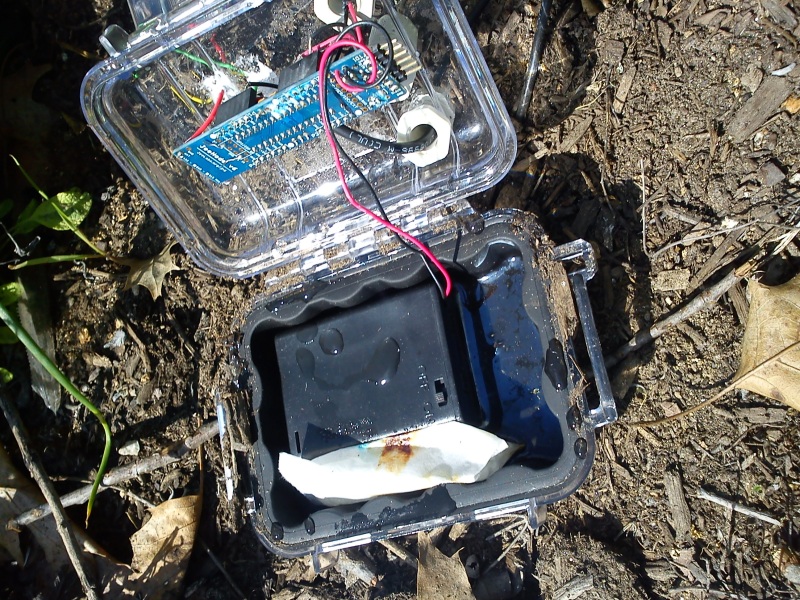
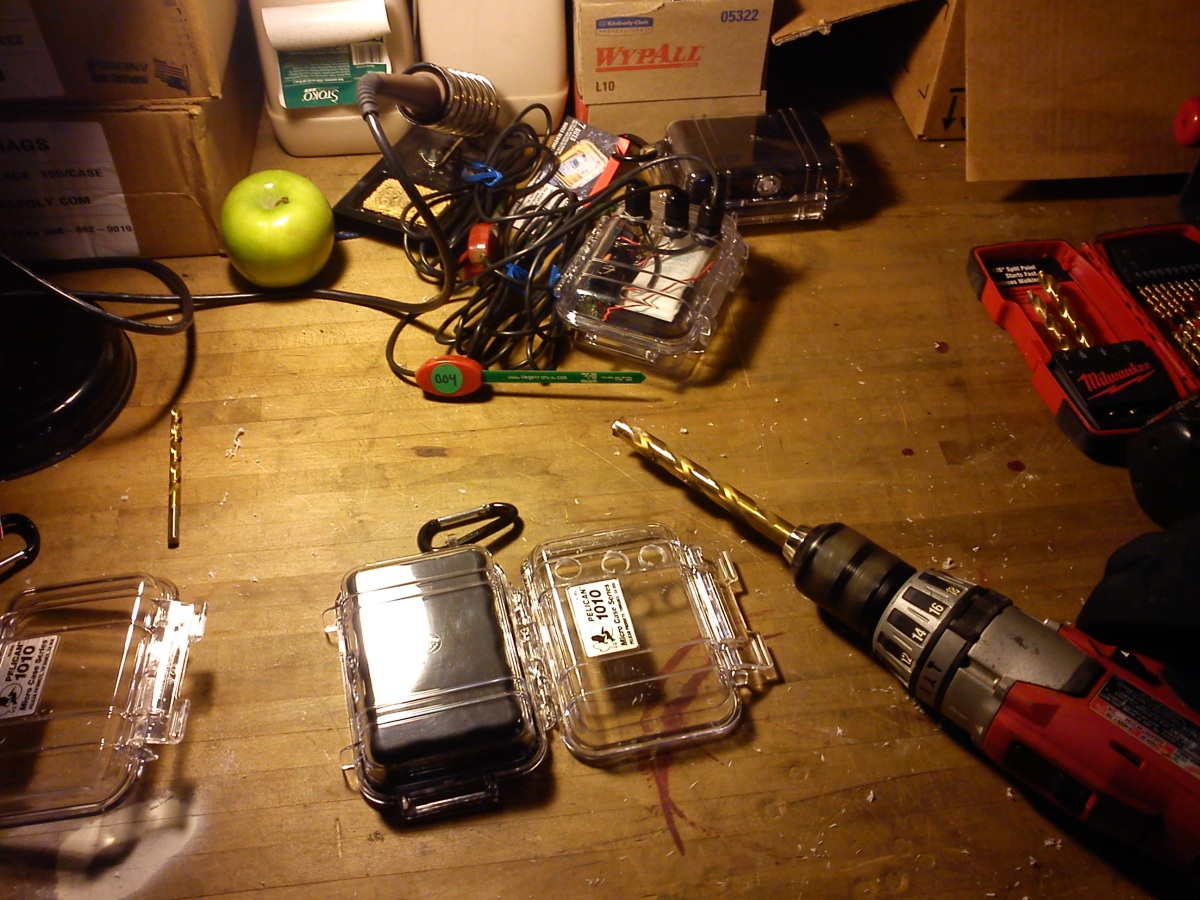
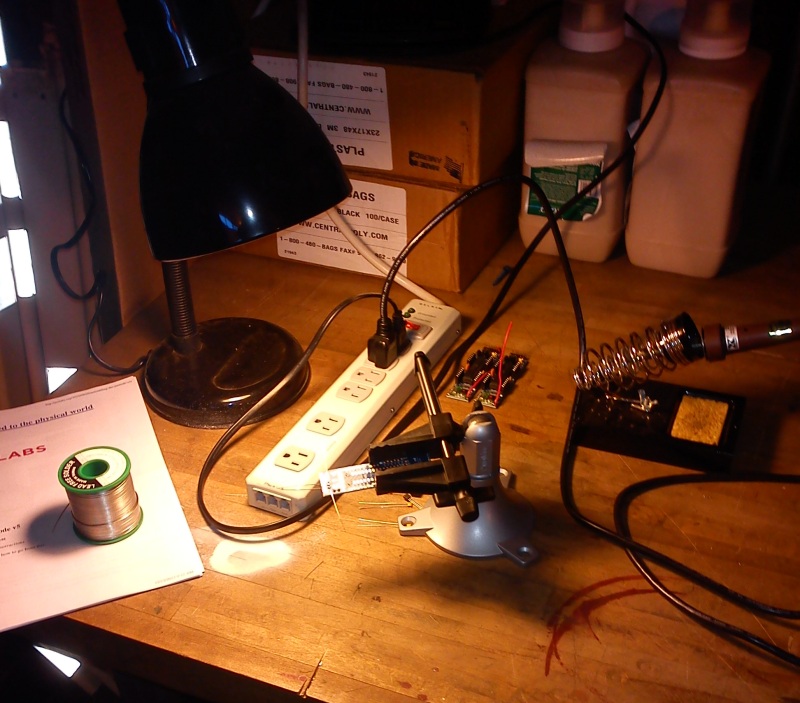
Of course, we’re always making improvements. Above, SLA Beeber student Brandon soldered permanent connections from a soil moisture sensor and a thermistor (temperature sensor) to the circuit board. He’s also designed and built a post structure to elevate and mount the solar panel in an optimal position to receive sunlight and keep the Soil Cell charged. Installation is planned for the spring, and we’ll be exploring ways to do more with these sensor units that are constantly being charged. (Hint: The sensors are currently “talking” to us; what if we started talking to them?)

Check out the live soil and temperature data from the Franklin Institute’s ozone garden here.

10 Mar

Hacking a Rain Barrel

rainbarrel_hack

Wish we could say no rain barrels were harmed during this week’s minicourse at SLA Beeber but, as the photo above indicates, that simply isn’t true. Ninth grade students have begun to imagine a smarter, more functional rain barrel for Philadelphia residents and businesses to manage stormwater on their property. This week, one group of students worked in the makerspace to build an enclosure prototype for the rain barrel while the other group investigated different sensors to measure water level in the barrel and figure out how the sensors fit into the physical design.

As with last year’s solar-powered birdhouses, greenSTEM is collaborating with Public Workshop to guide the students in designing and building a functional addition to their schoolyard and garden. We’ll be documenting the progress here—sharing the designs, code and challenges along the way.

Learn more about rain barrels and Philadelphia Water’s Rain Check program here.

05 Feb

SIM City: Philly Students Debut Sewer Inlet Monitor at STEM Competition

MBACS_2016

Move over, Ninja Turtles—there’s a new hard-shelled, talkative superhero in the city sewer system. Meet SIM (Sewer Inlet Monitor), defender of our rivers and streams, guardian against street flooding, and unrepentant tattletale. SIM texts or emails when sewer inlets become clogged with trash, alerting the public when cleaning is needed.

Yesterday, five 10th-grade students from Mariana Bracetti Academy Charter School presented SIM at the regional portion of the 2016 Governor’s STEM Competition. At the School District of Philadelphia, judges from the Mayor’s Office of Education and Drexel University awarded the students first prize; they will advance to the statewide competition in May to represent Philadelphia. (Full disclosure: They faced no competition from other teams. Full disclosure, Part II: These students worked after school, they came into school on days off, they worked after full days of standardized testing, so … they won and they earned it.)

MBACS_SIM

The photo above shows SIM on the outside; it’s camouflaged, waterproof, and rugged enough for, well, a sewer inlet. The device’s inner workings are, for now, a trade secret. (We’ll open-source the project shortly after the state competition.) The Mariana Bracetti students worked with Philadelphia Water‘s greenSTEM project to research a community problem (excessive trash near the school, right across the street from Frankford Creek), learn basic coding and circuit-building, develop a prototype, test, and revise the final product.

In addition to presenting SIM to the judges and conducting a succesful live demo, the students were issued a Project in a Box challenge: given 30 minutes and a mystery box of materials, they had to work as a team to solve a problem. The challenge? Build a paper airplane to fly a raw egg into the center of a target, using a short list of materials (tape, tissue paper, glue, etc.). Here’s how it went:

MBACS_eggplane

Submit your egg jokes/puns in the comments section.

Thanks to the School District and the judges, as well as Mariana Bracetti teacher Lauren DeHart and Drexel/greenSTEM coding mentor Sean Force.

03 Jun

Waterlogged

waterlogged_RootKit1

Mysteriously, the sensors at Nebinger and Cook-Wissahickon elementary schools stopped transmitting data late last week. A trip out to each school’s garden quickly revealed the problem: waterlogged Root Kits, with circuit boards and battery cases floating in water. Weren’t these things supposed to be waterproofed? Not against last week’s heavy rain, apparently. We have a hunch as to where the water is getting in; students at SLA Beeber will conduct an immersion test (i.e., put the case in a bucket of water) to see where the water is leaking in and recommend fixes. But for now, the Root Kits are sidelined and drying out, and we’ll test the circuit boards to see if they still work. Check out the futility of the dessicant pack in the photo below:waterlogged_RootKit2

19 Mar

Root Kit Construction

drilling_rootkit1

With the installation of sensors at four Philadelphia schools about a month away, it was time to build some additional Root Kits. Version 1.0 is housed in a Pelican 1010, a $10 waterproof case normally used for stashing your cell phone during whitewater rafting trips or something. We used a half-inch drill bit to drill out the three holes for the soil moisture sensor cables, and the cables are secured to the case with PG7 cable glands (about $3 for a pack of 10) that you can tighten by hand.

A few words about drilling: This was a two-person job; one person steadying the left side of the case and the other drilling, slowly and with constant pressure, the three holes. At first, we experimented with drilling pilot holes with smaller bits and moving up to the half-inch bit, but by the end we just did the job with the half-inch bit from start to finish. (We haven’t yet cracked the plastic on the Pelican cases, but have definitely destroyed a variety of less-sturdy plastic components while drilling.) It was difficult to align the holes and make it look pretty. The drill bit walks. This is not of great concern, however, since these cases will eventually be covered by students’ creative and artistic designs.

Speaking of which, students at Greenfield, Nebinger, and Cook-Wissahickon elementary schools are currently designing Root Kit housings for the design competition. The deadline for submissions is April 4, and more info and downloadable packets and drawing templates are here.

We’re in the process of assembling a complete set of instructions for assembling the Root Kit and plan to work with students at Science Leadership Academy’s Beeber campus this spring to be the first large-scale manufacturers of these sensor kits.

10 Jan

Next Step: Spectral Analysis?

ndvi-vis-comparisonImage: Public Lab

Spectral analysis—it’s not just for NASA anymore. With Infragram, the people over at Public Lab have done something amazing. They’ve figured out a way that anyone can use near-infrared photography to determine the health of plants. The science behind it is well explained here, but the short explanation is that chlorophyll in plants absorb blue and red light during photosynthesis (but not green—green light is reflected, and that’s what we see—or infrared light). What Infragram allows you to do is upload an image from a camera with an infrared filter, and it analyzes the photo to show you where the healthy plants are (see image above—NDVI stands for “normalized difference vegetation index”). Again, that’s not the whole story of what’s going on here, but you get the idea.

Now, you may ask, where does one get an infrared camera? Check out the Pi NoIR, a $30 infrared camera that attaches to a Raspberry Pi. Order from Adafruit and they also include the blue plastic filter for capturing images for Infragram. (Although we are not quite sure how to attach the filter to the camera—do you just tape it over the lens?) So imagine this: In addition to monitoring soil moisture and temperature, students can use the Root Kit to take photos of their rain garden, for example, upload it to Infragram and actually see photosynthesis (or evidence of it, at least). That seems … futuristic.

Lots of interesting stuff is happening with the Raspberry Pi and cameras. One of our favorite things is Upstagram, wherein some hackers put a Raspberry Pi and a camera inside a tiny house attached to helium balloons (like in the movie Up) and floated it over Paris to get a bird’s eye view of the city. Check it out:

15 Nov

Re-branding: “Root Kit?! Not on my network, pal!”

root kit complete

This is our physical product. We are calling it a Root Kit. The Root Kit is a do-it-yourself environmental sensor kit for schools to be able to wirelessly monitor rain gardens and other vegetation in real time on the web. On the left is the data receiving unit; it sits inside the school and receives sensor data from the object on the right, the sending unit. It is contained in waterproof case and is equipped with a temperature sensor and three soil moisture sensors. The soil sensors get buried in the ground and almost act as roots. This is the Root Kit.

Now, tech-savvy people will howl at the name, because a “rootkit” is a dirty word among IT and network security professionals. You see, a rootkit is techspeak for malicious software that invades and attacks servers and computers. Tell a school district IT person that you’d like to install a Root Kit at the local elementary school, and you’d better be prepared to run.

We still like the name. Much like the term “hacker,” we want to turn the meaning of “rootkit” on its head and have a little fun with the terminology. So who wants a Root Kit?

01 Nov

8 Microamps

micro

Learning new technology has a way of making you feel both highly intelligent (such as when you realize you can install entire software packages by typing three words) and monumentally stupid, often in close proximity to each other. I’m not sure if our battery-power problems exactly fall into the latter category, but let’s just say that the solution was not obvious to me, even after reading countless posts on Arduino forums and looking at many lines of code.

To refresh your memory, our JeeNode (formerly Arduino) and sensors have been drawing too much current from the battery, effectively killing our rain garden monitor within days. Even when we put the JeeNode into sleep mode, which is the vast majority of the time (sensor readings are taken once every 30 minutes), there was a current draw. We weren’t truly shutting it down.

I talked it through with James Tyack, and it didn’t take him long to figure out a solution: The digital pins on the JeeNode can be set to output a voltage (power); you can also toggle a digital pin on and off (“high” or “low” in Arduino terminology), so it either delivers 0 volts or 3.3 volts. If we power the sensors from the digital pins instead of the “power” pin, we can completely shut down power to the sensors when readings aren’t being taken. It’s a simple idea that just escaped me entirely.

The result? Instead of drawing 10 milliamps when idle, the JeeNode and sensors now draw 8 microamps. Forget about days of battery life—it’s possible that three AA batteries can provide power to the sensor for years.

17 Oct

The JeeNodes Workshop is Kind of Creepy

solder_desk

Unlike the pre-fabricated Arduino boards we started out with, these JeeNodes don’t make themselves. They require soldering to attach the various components (resistors, capacitors, antenna, etc.) to the printed circuit board. It’s a skill you have to develop, but it’s not difficult; this video is one of my favorite tutorials on soldering electronics. I’ve come to enjoy soldering, and it’s come in handy (when my son’s toy lightsaber broke, I re-soldered the battery connection and restored balance to the Force). Now that we’re working with JeeNodes, I relocated all soldering operations to a desolate PWD garage—it can be a very Zen-like experience, and that’s my desktop setup above. But it’s also a little bit like a horror movie, because when you zoom out, you realize that I am working inside a cage.

solder_cage