21 Jul

Delivery & ExCITe-ment

excite2

The weekly classes we taught at Science Leadership Academy’s Beeber campus this past spring took place with the support of Seed Project funding from Drexel University’s ExCITe Center. Last Friday, we set up one of our students’ birdhouses there for visitors to see.

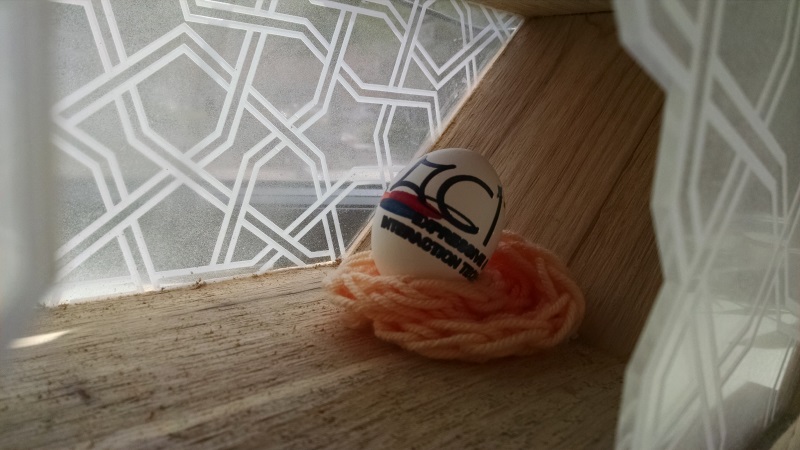
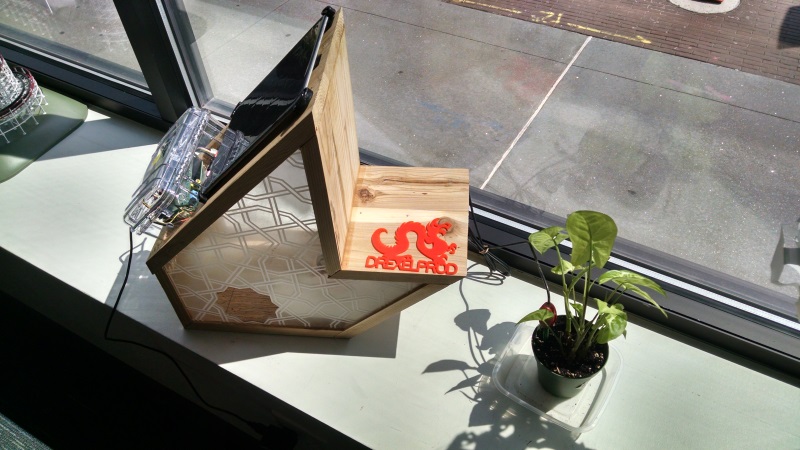
Ninth grade students Abdul and Cinque designed this birdhouse for a cardinal. They incorporated the plastic walls because their research indicated that cardinals prefer open nests, and they thought the plastic would give the house a more open feel. For style, and in representation of Abdul’s religion, they etched an Islamic pattern into the plastic.

excite1

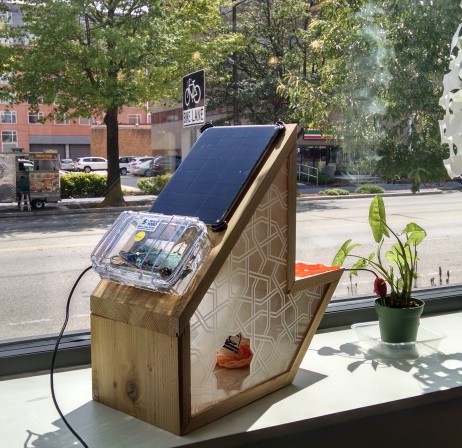
This birdhouse reads the soil moisture levels in the plant beside it. Inside we placed a small egg where the birds would normally nest. If you’re at the ExCITe Center, you can check out the video feed here.

excite4

The ExCITe Center’s funding allowed greenSTEM to develop this year’s birdhouse project and teach students to program Arduinos and apply technology to environmental problems.

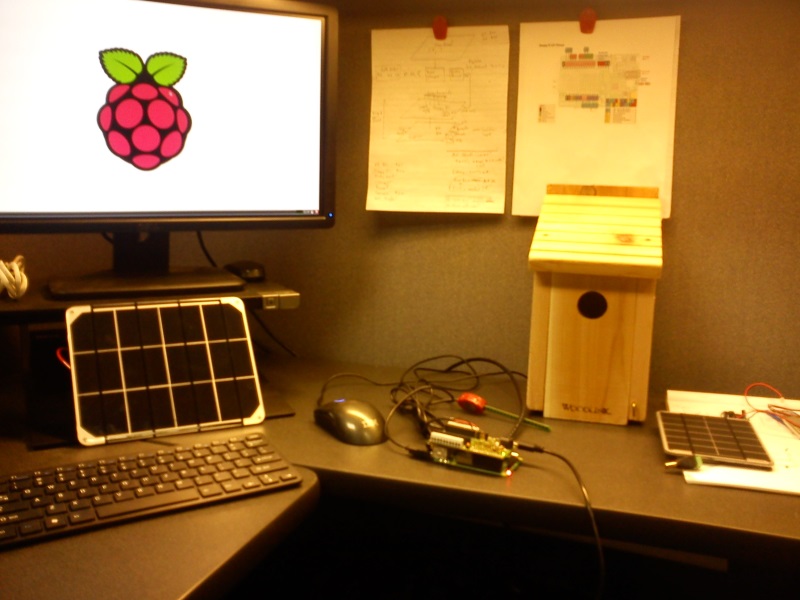
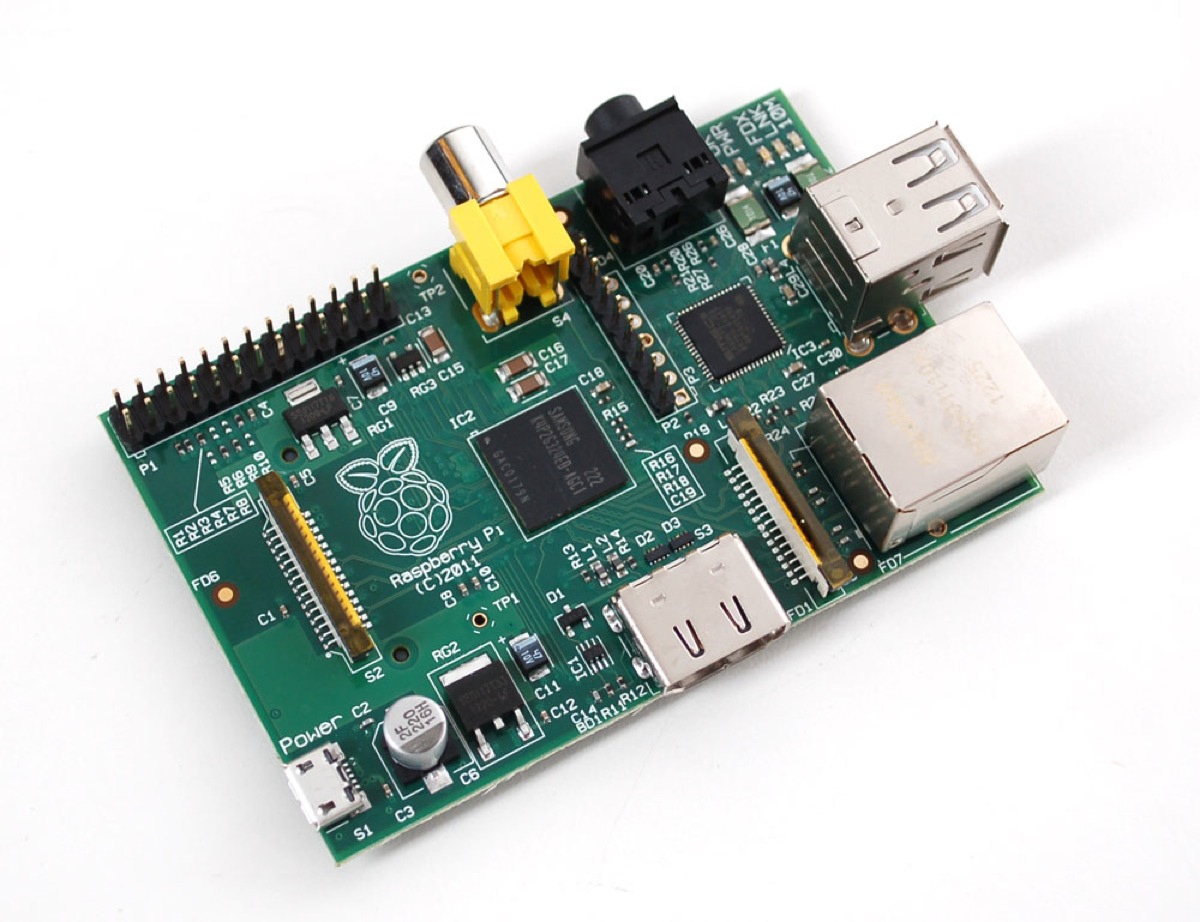
This birdhouse is one of four designs created over the course’s 16 weeks. Each design incorporated solar power and datalogging via a wifi connection. In addition, all birdhouses have two rooms—one for birds, and one for electronics. The infrared cameras capture HD video of the birds inside the houses and stream it live to computers inside the schools for several hours each day. They also take temperature and soil moisture readings. The temperature data indicates how comfortable the birds are inside their home, and the soil moisture levels indicate when school gardens require watering. The birdhouses use low-cost technologies such as the Arduino microcontroller and the Raspberry Pi single-board computer.

Because the ExCITe Center’s new birdhouse is hooked up to a steady internet connection and power source, we currently have it streaming during the entirety of the center’s hours of operation.

Philadelphia Water staff collaborated with the Fairmount Water Works, Public Workshop and Jarvus Innovations. Drexel University undergraduates Darya Dragun, Marika Zeldenrust and Alexandra Jones, along with Temple intern Olivia Williams, were key contributors to the project. Plans are already being hatched (no birdhouse pun intended) for next year’s greenSTEM project.

excite3

10 Jan

Next Step: Spectral Analysis?

ndvi-vis-comparisonImage: Public Lab

Spectral analysis—it’s not just for NASA anymore. With Infragram, the people over at Public Lab have done something amazing. They’ve figured out a way that anyone can use near-infrared photography to determine the health of plants. The science behind it is well explained here, but the short explanation is that chlorophyll in plants absorb blue and red light during photosynthesis (but not green—green light is reflected, and that’s what we see—or infrared light). What Infragram allows you to do is upload an image from a camera with an infrared filter, and it analyzes the photo to show you where the healthy plants are (see image above—NDVI stands for “normalized difference vegetation index”). Again, that’s not the whole story of what’s going on here, but you get the idea.

Now, you may ask, where does one get an infrared camera? Check out the Pi NoIR, a $30 infrared camera that attaches to a Raspberry Pi. Order from Adafruit and they also include the blue plastic filter for capturing images for Infragram. (Although we are not quite sure how to attach the filter to the camera—do you just tape it over the lens?) So imagine this: In addition to monitoring soil moisture and temperature, students can use the Root Kit to take photos of their rain garden, for example, upload it to Infragram and actually see photosynthesis (or evidence of it, at least). That seems … futuristic.

Lots of interesting stuff is happening with the Raspberry Pi and cameras. One of our favorite things is Upstagram, wherein some hackers put a Raspberry Pi and a camera inside a tiny house attached to helium balloons (like in the movie Up) and floated it over Paris to get a bird’s eye view of the city. Check it out:

15 Nov

Re-branding: “Root Kit?! Not on my network, pal!”

root kit complete

This is our physical product. We are calling it a Root Kit. The Root Kit is a do-it-yourself environmental sensor kit for schools to be able to wirelessly monitor rain gardens and other vegetation in real time on the web. On the left is the data receiving unit; it sits inside the school and receives sensor data from the object on the right, the sending unit. It is contained in waterproof case and is equipped with a temperature sensor and three soil moisture sensors. The soil sensors get buried in the ground and almost act as roots. This is the Root Kit.

Now, tech-savvy people will howl at the name, because a “rootkit” is a dirty word among IT and network security professionals. You see, a rootkit is techspeak for malicious software that invades and attacks servers and computers. Tell a school district IT person that you’d like to install a Root Kit at the local elementary school, and you’d better be prepared to run.

We still like the name. Much like the term “hacker,” we want to turn the meaning of “rootkit” on its head and have a little fun with the terminology. So who wants a Root Kit?

13 Sep

Big Changes

Where hardware for this project is concerned, everything has changed. We’re saying goodbye to the Arduino Uno, the WiFi shield, and the Solar Sunflower. Here’s why: The Arduino and WiFi shield setup consumes too much battery power, and we all pretty much agreed that having to change batteries more frequently than every 3 months would be unacceptable. Might there be a workaround for this? Sure—but electrical circuits aren’t our strong suit, and making that part of the design takes away from our desire for this to be a project that anyone can build themselves.

Speaking of strong suits and DIY building, we’re getting out of the sunflower business. The thought of mass-producing sunflower-shaped sensors isn’t particularly appealing. Who better to design the sensor housing than the students themselves? A student design competition for the sensor housing makes more sense, appeals to wider interests, allows for modularity in design and installation, and lets students create something unique to their classroom and their school. For the moment, we’re still calling our project group Solar Sunflower, but a re-branding is in process. So, cheers to the giant sunflower: It was a fine symbol for our work, it never failed to attract attention when you walked into a room with it, and it was the ultimate conversation starter on elevators and street corners.

But we have something new to talk about—meet the Raspberry Pi:

RPi_modelb

It’s a $35, credit card-sized Linux computer. Linux is an operating system, or OS—Mac and Windows are examples of operating systems, but they are proprietary; Linux, on the other hand, is open source (you can get under the hood and modify it) and it is free to install. Don’t be afraid of Linux—it can look and perform like your Mac or PC, with a desktop, software programs, Internet browser, and solitaire (or minesweeper if you prefer). You can connect a mouse, keyboard and monitor to the Raspberry Pi and have a functioning computer workstation. It accommodates Ethernet or WiFi for Internet access, a high-resolution camera, and audio speakers. The Raspberry Pi is so inexpensive because it was developed in England to teach computer science. You can read more about it here.

When we combine a Raspberry Pi with the JeeNodes mentioned in the previous post, something incredible happens. Many of our nagging problems and difficulties disappear. With the JeeNode in the garden, we’re using less power from the battery pack. By sending sensor data over radio waves, we don’t have to worry about having WiFi access outside the school. The Raspberry Pi can sit inside the school, receive the data, and upload it to the web. We’re no longer tying up a computer in the school. We’re even reducing the overall cost of the project.

More details on this new configuration to come, but Jeelabs’ Dive Into JeeNodes series of blog posts is a rough guide to the approach we’re taking. Our paths diverge a bit around step 8, but the idea is the same: JeeNodes communicating with each other by radio, and the Raspberry Pi uploading data to a server.

We’re also saying goodbye to Drexel student Tommy Thompson, whose co-op position at the Philadelphia Water Department is ending this week. Many thanks to Tommy for all his hard work and hours of troubleshooting hardware and software. Tommy isn’t a computer science major, but I’m especially proud that he’ll be leaving here with some programming skills in C++ and Python. One day he programmed a game of Pong onto an LED display using the Arduino and a soil moisture sensor as a game control. That was pretty awesome.