06 Jul

All About the Benthos, Man

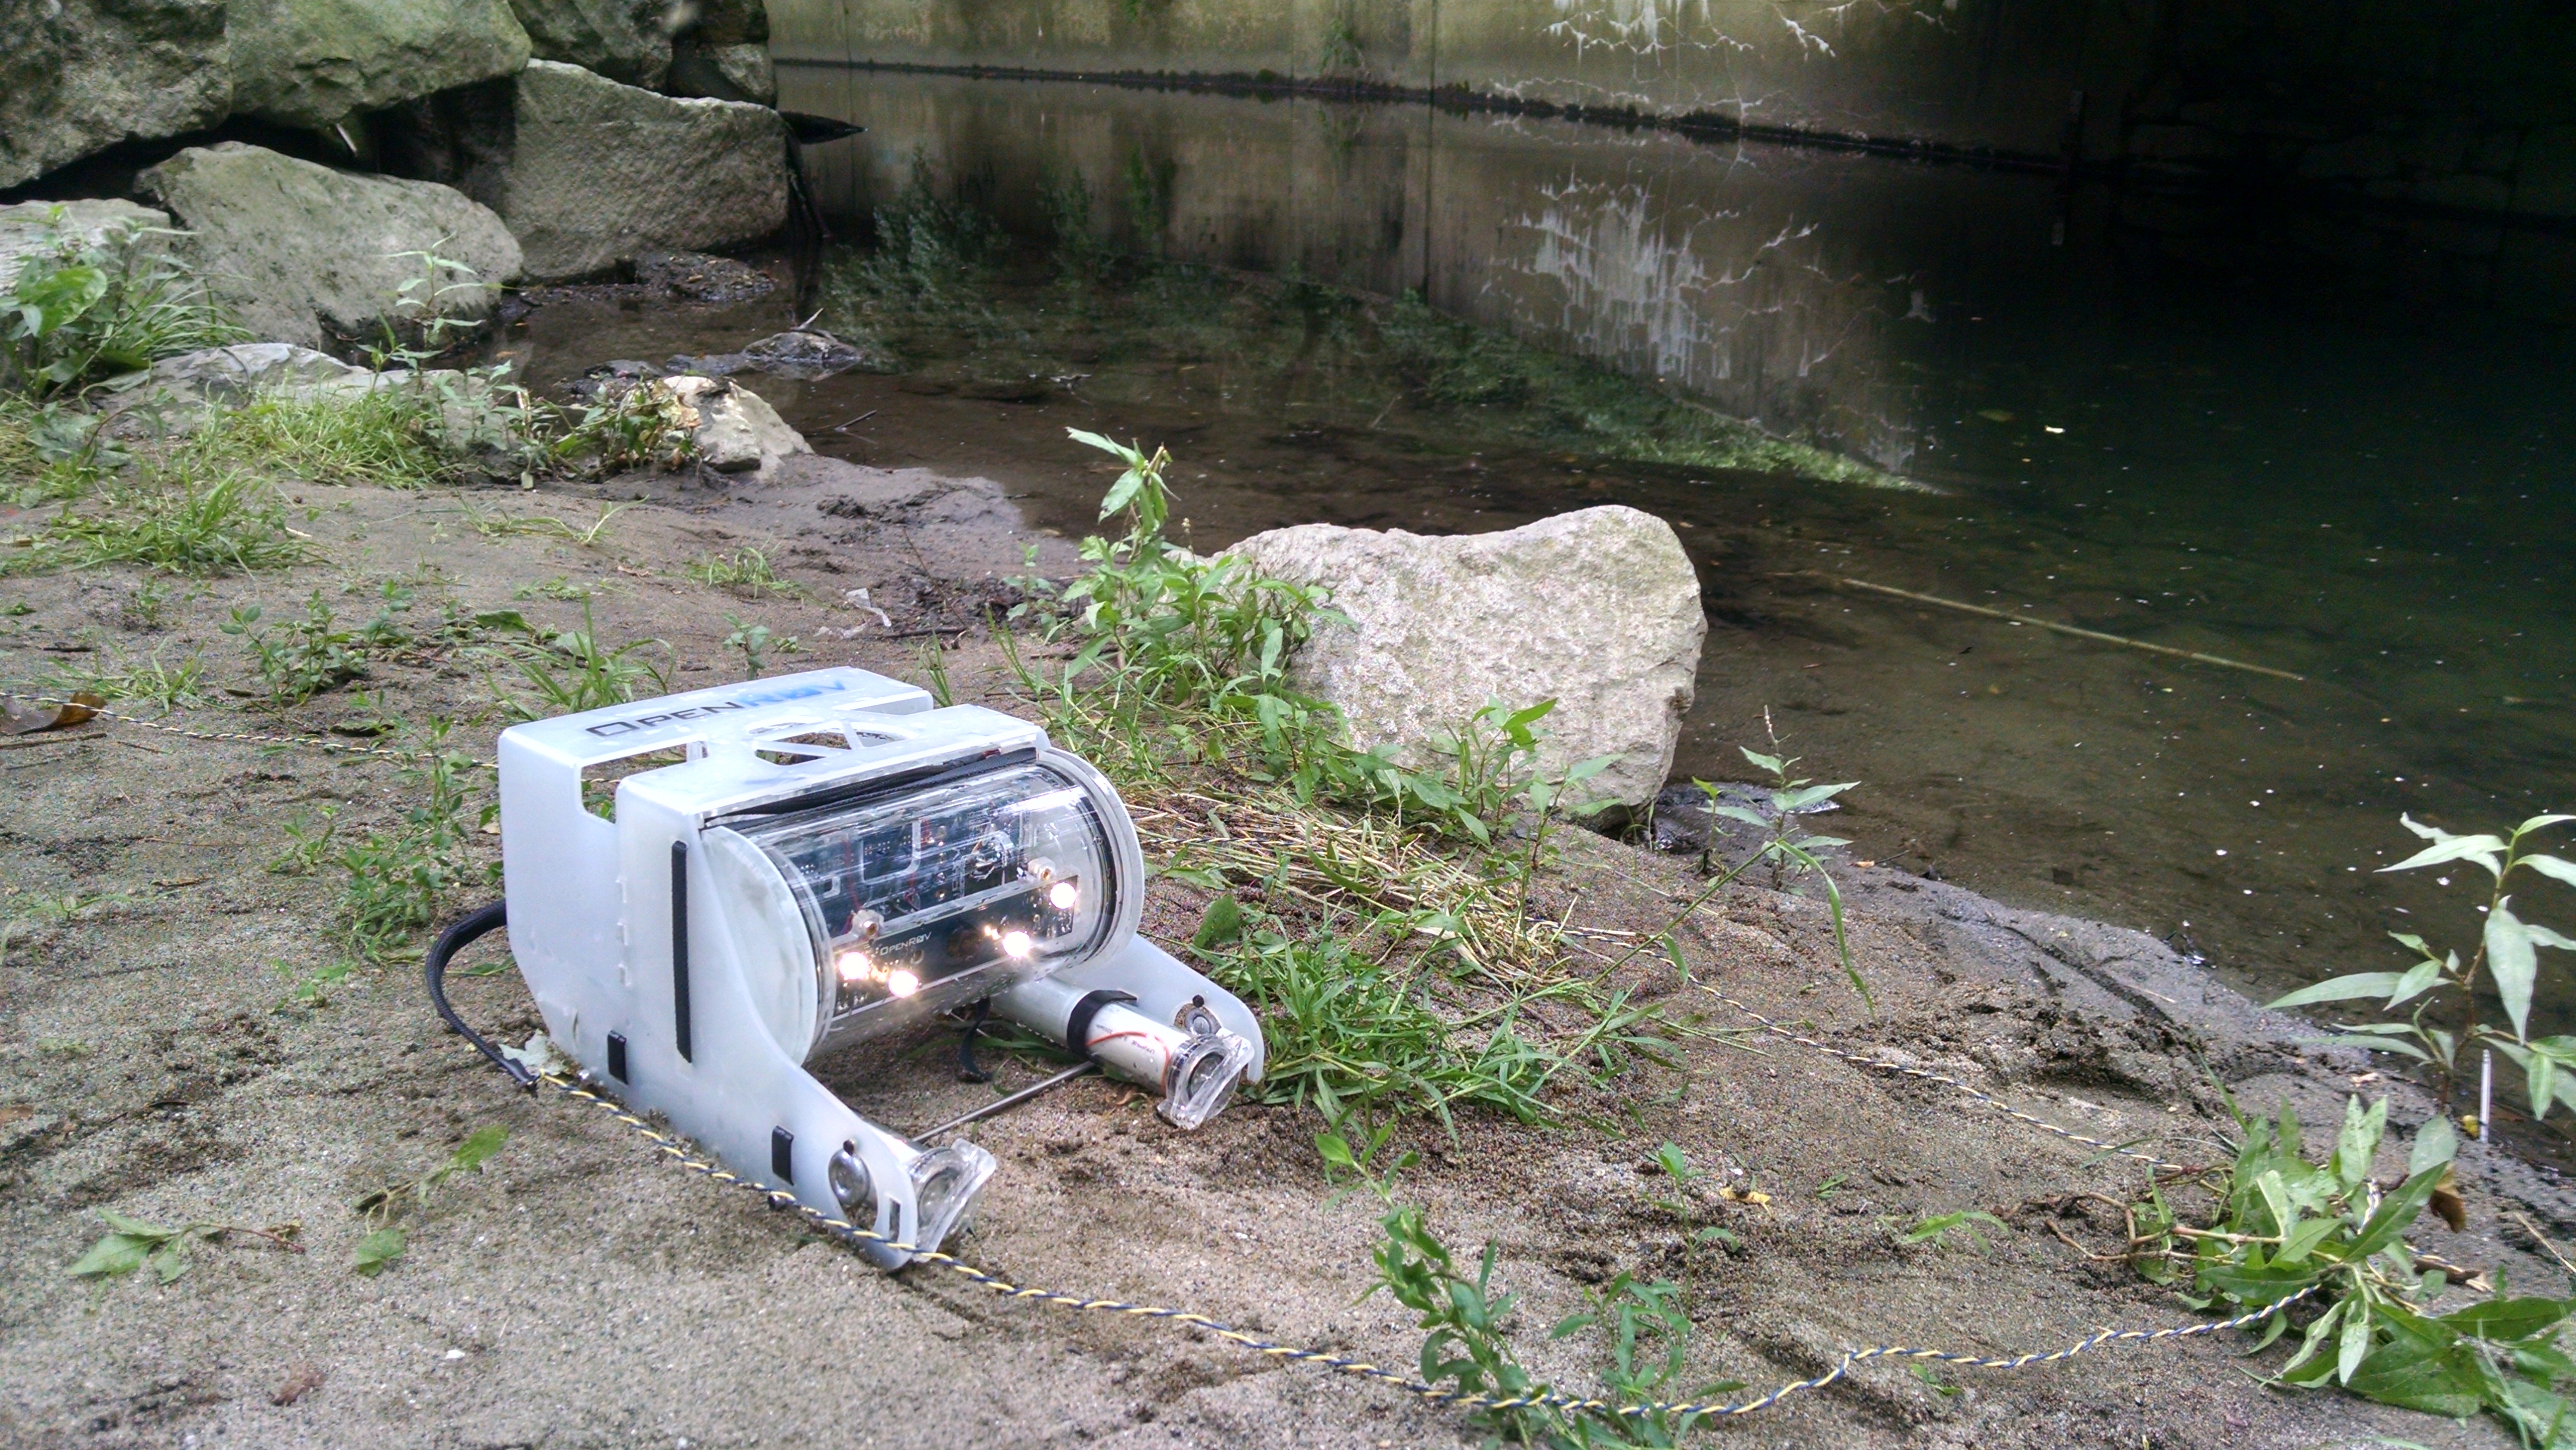
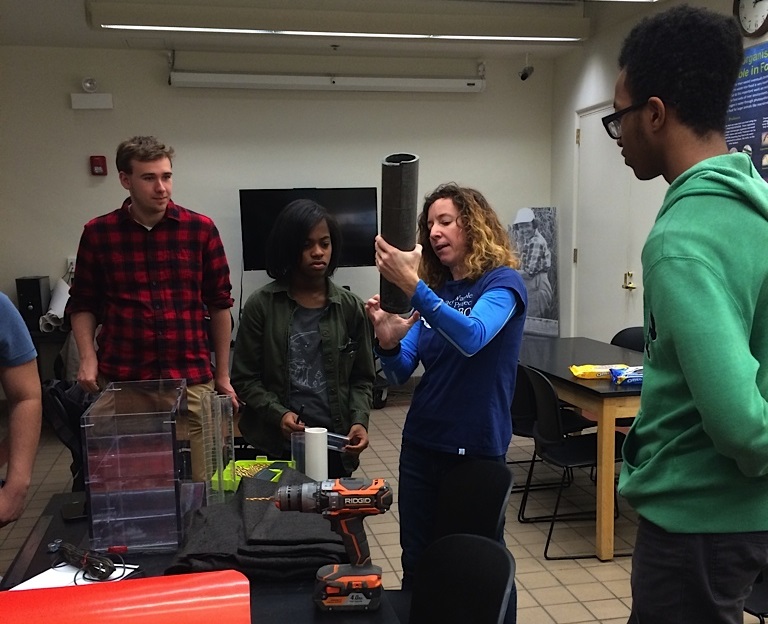
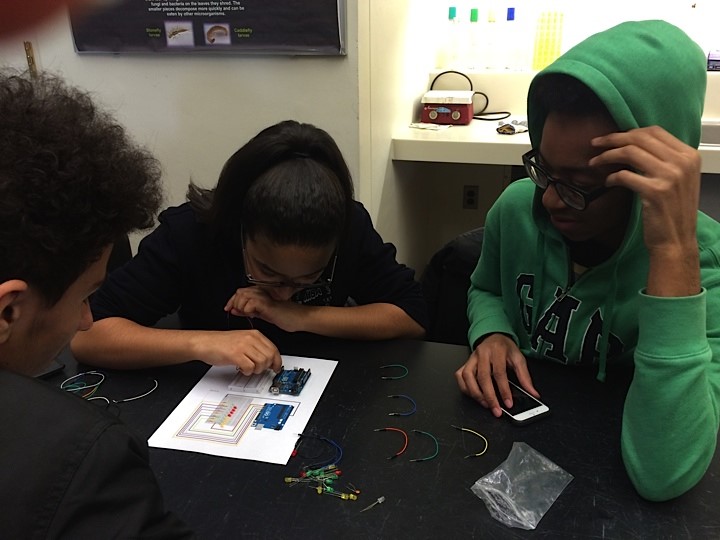
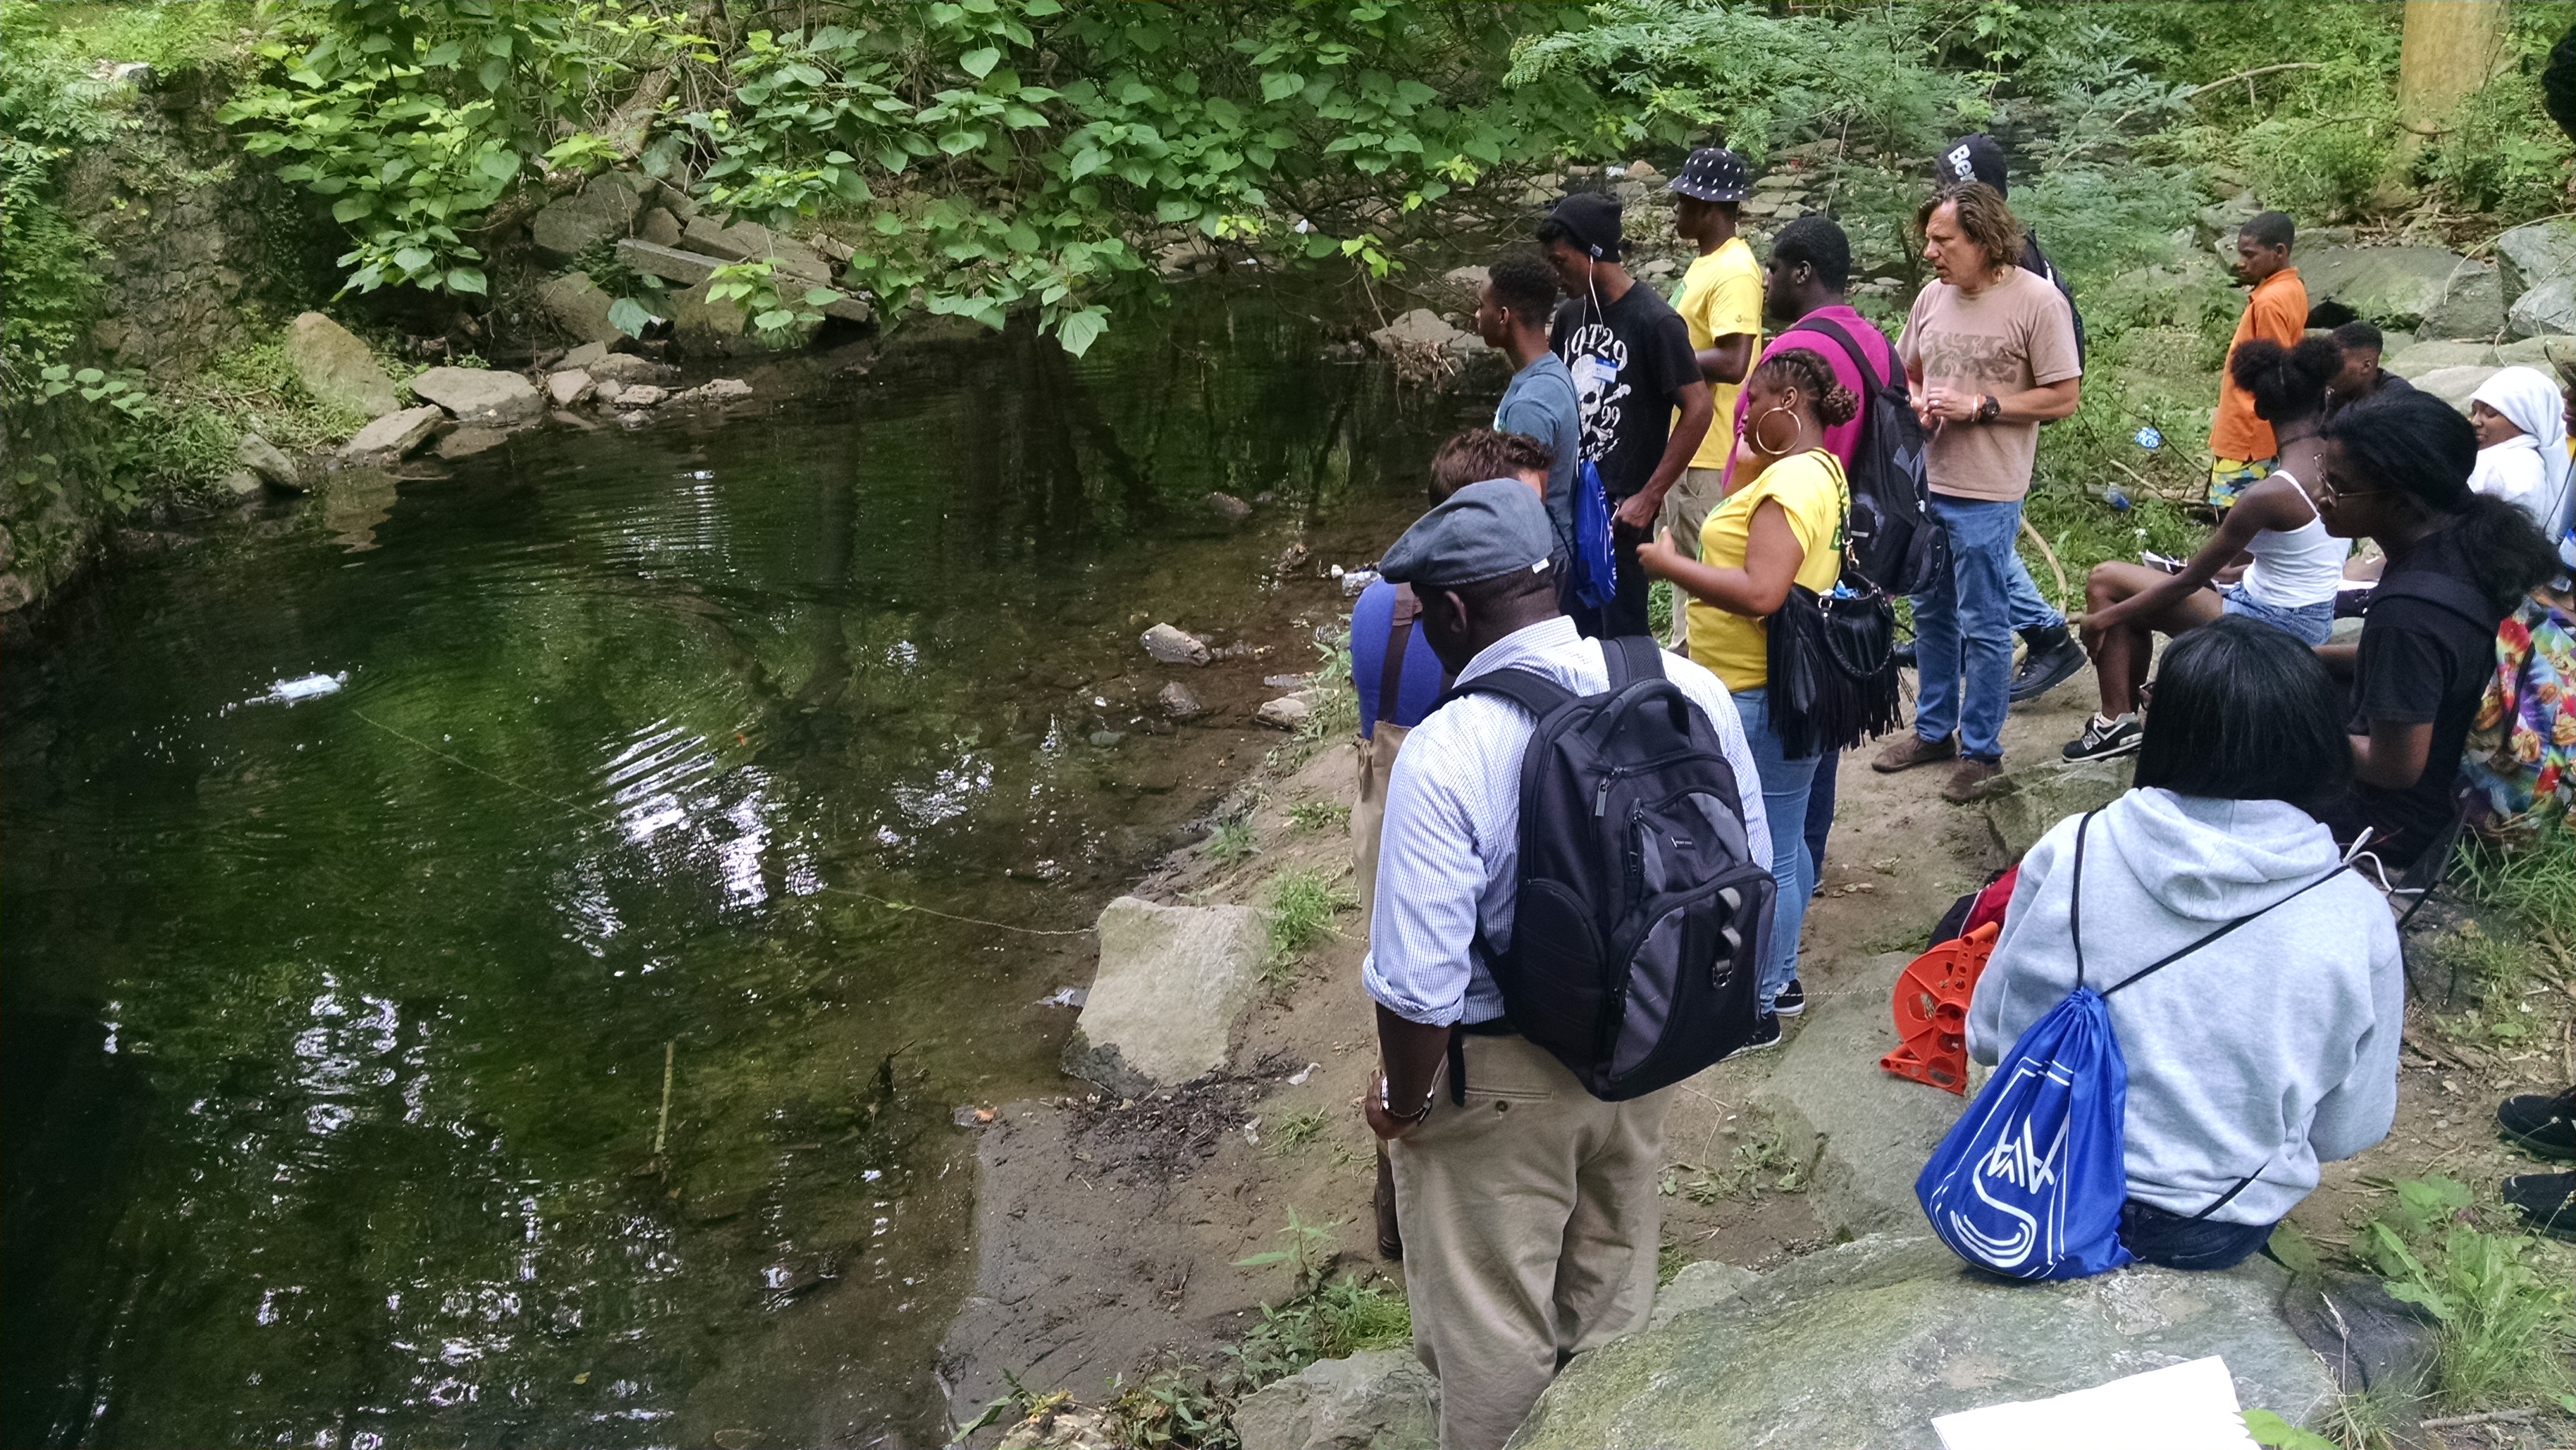
This week, the underwater rover built by high school students at Mariana Bracetti Academy Charter School embarked on its second voyage (read about the maiden voyage here) in Naylors Run, a tributary of Cobbs Creek in West Philadelphia. This time, the rover pilots were high schoolers spending the summer training as Watershed Stewards, a new program coordinated by the Philadelphia Water Department and the LandHealth Institute. The Watershed Stewards will spend 11 weeks learning about ecological issues and ways to protect our waterways and environment, and then look to (re)engage peers and residents with the creek during outdoor programming.

Given the game controller that operates the submersible rover, the Stewards took immediately to learning the controls and executed some of the vehicle’s best maneuvers yet. As the rover dived into a pool, it captured streaming video footage of catfish, satinfin shiners and other fish species. It also revealed one of the creek’s biggest challenges: trash that has accumulated in the creek. By documenting the conditions of Cobbs Creek, the Watershed Stewards can plan the best way to address the issues facing the benthos (the aquatic organisms at the bottom of the creek).

Using technology and looking at ecosystems as a whole are two important ways that the rover stays connected to its initial mission from the Climate & Urban Systems Partnership (CUSP), which funded the rover’s construction. Warmer air temperatures, stormwater and combined sewer impacts, algae blooms and other contributors to poor water quality are related to climate change. With the rover’s unique underwater perspective, Philadelphia students are making observations today that could prove valuable to researchers and problem-solvers.

19 May

Smart Green Roof Project: Chapter 3

The roof has grown—SLA Beeber students wrapped up version 1.0 of their Smart Green Roof model at the Fairmount Water Works this month, completing the project by creating the storage layer and planting sedum. The storage layer—made of brightly colored plastic pieces beneath the soil (constructed from Locktagon toys)—is designed to hold water as it seeps through the soil and through a filter fabric.

What makes this a “smart” model are the sensors designed to monitor how this miniature green roof uses and stores water. Soil moisture sensors and a temperature sensor can inform us about plant health; and an ultrasonic distance sensor looks down an observation well to gauge the level of water in the storage portion of the model. The data can be seen on an LCD display, and all of it is powered by a solar panel. The empty compartment in the lower right part of the model will someday house a pump that can irrigate the plants on demand. (That’s version 2.0 of the model.)

In April, the Smart Green Roof team brought the model to the Philadelphia Science Festival, where we demonstrated how green roofs work and what they do: capture stormwater, reduce the urban heat island effect, and save energy by insulating buildings.

This week, we finished with a trip to Villanova University to check out the green roof on top of the college’s CEER building. Because Villanova researchers have also outfitted their green roof with a variety of sensors and irrigation devices, it is very much like a scaled-up version of the Smart Green Roof model.

22 Mar

Smart Green Roof Project: Chapter 2


This spring, greenSTEM is delighted to have guest bloggers! We’re working with the Fairmount Water Works and high school students from SLA Beeber to create a smart green roof model using microcontrollers and sensors.

After researching green roofs and getting some exposure to Arduino programming, we are beginning to build the model. Kevin Magerr, an engineer with the Environmental Protection Agency (EPA), delivered the skeleton of the model: an acrylic box with different compartments for the soil/plants, electronics, and a water pump. Also joining us was Cara Albright, a PhD candidate with the Villanova Urban Stormwater Partnership. These experts helped guide the model’s development.

  • “We got our green roof model and it looks amazing. Kevin, an EPA engineer, and Cara, a student at Villanova University, helped us make plans for our green roof model.”—Tyheim


One way to monitor the effectiveness of a green roof is to look at how much water it can hold. Above, we plan to install a tube that acts as a well in the system. It will fill up with water and we can use an ultrasonic distance sensor to capture the level of water in the well. We talked about how the sensor works—it uses sound signals that bounce off the surface of the water, operating much the same way a bat uses echolocation to detect its surroundings—and experimented with different sizes of tubes to determine the most accurate measurements.

Terrance and Tyheim also began to wire an LCD display that will create a readout of the water level in real time. All of our prototyping is done with breadboards and jumper wires; once all the elements are in place, we will solder these circuits together to be able to look at multiple sensors and displays: water level, temperature, and soil moisture, for example.
Helpful links:
Ultrasonic (ping) sensor tutorial and code
LCD display tutorial and code
13 Feb

Smart Green Roof Project: Chapter 1

This spring, greenSTEM is delighted to have guest bloggers! We’re working with the Fairmount Water Works and high school students from SLA Beeber to create a smart green roof model using microcontrollers and sensors.

Fairmount Water Works is excited to partner with Matt Fritch and the Philadelphia Water Department to host four high school interns from Science Leadership Academy at Beeber. Chelby, Ashton, Tyheim and Terrance come to FWW weekly to meet with Matt, FWW educator Rachel O., and volunteer Billy K. We began the internship back in October, but we are just getting blogging now. Here are some observations from the past few months.

We began with tours of the Water Works and set some goals:

  • “The Fairmount Water Works can help me with my goals in many ways. I have learned to be a better person thanks to this place, it helped to shape who I am. Also, when I go to college, I might study to be a doctor or scientist so this helps for that.” —Tyheim
  • “FWW can help me meet different people and build connections.”—Chelby

We learned a bit about the history of FWW, walked around and learned about this historic place:

  • “One cool thing I learned was that people used to drink water straight from the river….When people went in boats in the river they boated in canals so they wouldn’t crash into the dam.” —Chelby
  • “There used to be seals here! And there used to be a pool area.” —Tyheim

Now it’s time to get to work. Matt is teaching us about Arduinos and how they are used to monitor different sites. Rachel is still trying to understand this, but she likes when Matt said that the Arduino is a really dumb computer. It can basically tell its sensor to do one thing: light on/light off, temperature readings, moisture, etc. We’ll be using our Arduinos to connect to sensors to monitor soil moisture. To water or NOT to water? That is the question.

We started learning about Arduinos and how to set them up to do different things. We learned to solder the appropriate parts.

  • “Today we learned a little about Arduino and what it does. We learned that the soil moisture sensor senses the amount of water in the ground. We will probably be using this for our green roof. We also learned about other things the arduino can do with sensors.” —Tyheim

*We met on January 18 at Cira Green to look at the green roof. Rachel learned that the roof is designed to hold 500 people DANCING! She is hoping to get invited to that party.

  • “It’s really cool, but not at all what I expected. It is like a big park floating over the city. The views are fantastic. It cost $12 million to build.” —Chelby
  • “During our trip to the green roof I learned that the soil is being held up by flattened milk crates. The rain water is held up in a tank that is used for such things as toilet water.” —Terrance

We now have to learn a bit more about how green roofs are constructed, so we spent a few days researching. We’ll be making a model that can sit on a tabletop. Sensors will be incorporated into this model so we can tell the water level in the model. We have been practicing coding to make this sensor work.

29 Jan

Concluding the Thrilling Saga: The Talking Plant

lego_audio_sensor

As the third and final part of our interactive plant display at the Fairmount Water Works, our last plant is now able to talk. That is, it can express its need for water through audio. This setup uses an Arduino ($25), a Wave Shield ($22), and a Vegetronix VH400 soil moisture sensor ($37). Our two 10th grade Science Leadership Academy students had a lot of fun soldering and building the shield. To our delight (and surprise), it actually worked the first time we tried it.

The audio shield will only play .wav files. There are databases with huge amounts of them out there on the Internet. We faced some issues with our .wav files and their compatibility with the device, but after some practice, we began to get the hang of it.

Currently, in an attempt to annoy the Water Works employees (just kidding), each hour the plant takes a moisture reading.  If the moisture level is satisfactory, it plays a clip of the song “Everything Is Awesome” from The Lego Movie, to go with the hardware’s awesome Lego case built by the SLA students:

If the moisture level is not satisfactory, it will play water droplet sounds, indicating it needs to be watered. There’s a lot of room for creativity here, because iTunes and Audacity can convert  .mp3 to .wav files.  What’s stopping Matt from recording himself, converting it, and uploading it to the Arduino? Nothing—he’s probably already started working on it.

View the code after the jump.

Read More

16 Jan

Even Plants are Tweeting Nowadays

Capture1

As part of our display at the Fairmount Water Works, one our plants will now be tweeting when it needs to be watered. (First the teenagers, now the plants?)

This setup uses an Arduino Uno ($25), a WiFi shield ($80), and a Vegetronix VH400 soil moisture sensor ($37). This WiFi shield has an integrated antenna, which allows us to connect to the wifi at the Water Works and send tweets over its network.

We didn’t want our plant to be someone who only talks to you when they need something, so we have a series of different tweets:

  • “Water me please!” when the moisture value falls below 250.
  • “URGENT! Water me!” when the moisture value falls below 150.
  • “Thank you for watering me!” when there is a change in moisture level of at least 100 and the new moisture value is above 250.
  • “You didn’t water me enough!” when there is a change in moisture level of at least 100 and the new moisture value is below 250.
  • “You overwatered me!” when the moisture level climbs to above 400.

One problem we ran into was that Twitter doesn’t allow repeated tweets, as a way to block spam.  Because of this, we had to add more content to our tweets.  In addition to the text, each tweet displays the moisture level and the tweet number (we added a tweet counter in our code).

You can see our plant’s tweets here.

View the code after the jump.

Read More

05 Jan

Bigger, Better and Brighter LED Display

IMG_6699 IMG_6696

Our previous post detailed the simple soil moisture sensor with an LCD display that has been keeping track of our plant’s watering needs at the Fairmount Water Works.  We decided the project could use a little more flair—plus, our original LCD display got a little wet.  Luckily, our new 16×32 LED Matrix has its own waterproof case. The setup uses an Arduino Uno ($25), a Grove base shield ($10), a Vegetronix VH400 soil moisture sensor ($37), and a 16×32 RBG LED matrix panel ($25). All of the electronics are safely tucked into a waterproof Pelican case.

We decided to display more information with our LED matrix.  Now, it will display the words “Water me!” when the soil moisture level falls below a voltage of 1.2, or “Don’t Water” when the moisture level is greater than 1.2 V. It then displays the voltage, followed by “Water Works,” and repeats.

We found that with RGB (red-blue-green) matrices like this one, certain colors require more power.  When using solely the power coming through the computer to the Arduino to power the matrix, we were limited to basic red, blue, and green colors.  Any other colors would be displayed as one of the tree.

We decided this was a little too boring, and experimented with supplying power from the wall directly to the matrix, in addition to the power coming from the wall to Arduino.  This got us very bright, vibrant colors. However, the LEDs were glitchy and flashing.  We think the matrix was getting just a little too much power, and it was distracting.  In the end, we stuck with the additional wall power, but used lower power colors.  This gave us the brightness we wanted, without all the flashing.

View the code after the jump.

Read More

08 Dec

Fairmount Water Works Sensor

Now on display at the Fairmount Water Works—a simple soil moisture sensor with an LCD display to keep track of a plant’s watering needs. This is just a first step in developing some really interesting ways to monitor plants and get feedback on plant health. Working with two 10th grade students at Science Leadership Academy, we’ll be investigating how to use visuals, audio, and Twitter to communicate environmental data.  (We’ll also be investigating why we didn’t put the electronics in a waterproof case, because what’s more awesome than an unprotected circuit board next to a plant that’s being watered?)

This setup uses an Arduino Uno ($25), a Grove base shield ($10), a Grove LCD display ($14) and a Vegetronix VH400 soil moisture sensor ($37, though you can find soil moisture sensors for under $10; we like the performance of the VH400). The Grove shield stacks on top of the Arduino and lets you use snap-in wires to connect sensors and displays. The Arduino code is after the jump; it’s basically modified code from the Grove website.

We did a rudimentary calibration of the soil moisture sensor and got readings for the sensor in air, in dry soil, in wet soil, and immersed in water. From those measurements, we estimated readings below 200 would probably indicate the plant needs watering. It’s not an exact science, but we’ll learn more about what the sensor output means as we go along.

Read More